Home > Blog > How to Fully Optimize Windows 10 for Gaming in Peak Performance?
How to Fully Optimize Windows 10 for Gaming in Peak Performance?
how to optimize windows 10 for gaming fully on your laptop? There are step by step guidance to do system optimization for peak computer performance and smooth gaming experience.
by Helen | Jan 13, 2022
It should be a happy experience to play computer games home on weekends or after work. Yet, it usually turns out not to be so when you stuck on the vital moment due to slow system reaction. Then, you get yourself killed and lose the game…This surely happens even for the newest Windows 10!
Good expectation turns into bad memories. In order to avoid such a thing happens again, you are highly recommended to get your operating system fully optimized; get its speed up! Up! Up!
- How to Optimize Windows 10 for Gaming?
- Fully Optimize Windows 10 for Gaming with FREE Smart Game Booster
- The Bottom Line
How to Optimize Windows 10 for Gaming?
Been asked of this question, some computer newbies or nonprofessionals may have no idea about what to do. While other people who know something about PC staff will get start to do the following operations.
End Processes
Many currently running applications or processes are unnecessary, even useless. Yet, they occupy physical memory. So, to get rid of them will release much space for games.
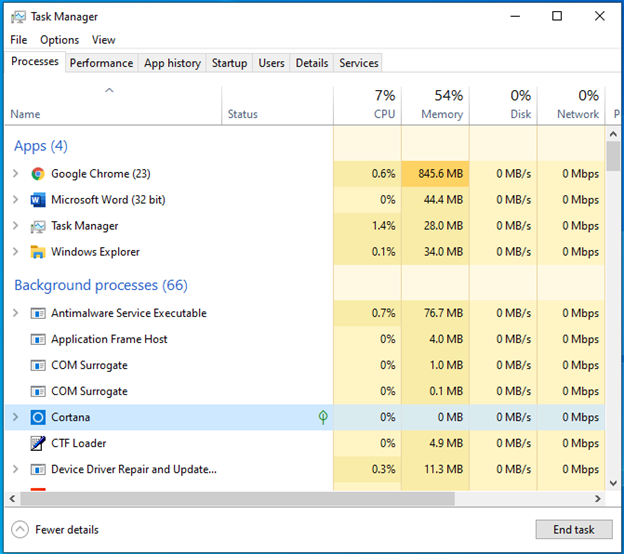
Right-click the bottom taskbar and select “Task Manger”. In the Processes tab of task manager, choose the app or background process and click “End Task” in the bottom right.
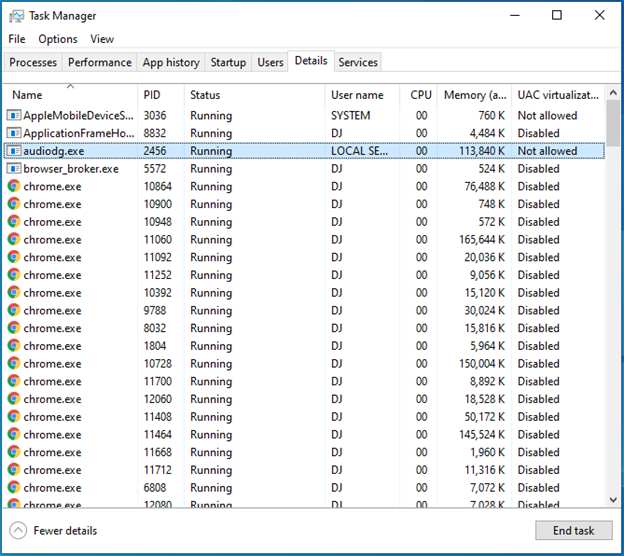
If you are not sure whether to end some processes or not, just go to the Details tab to view how much memory they are using. Finally, decide to end them or not.
Disable Startup
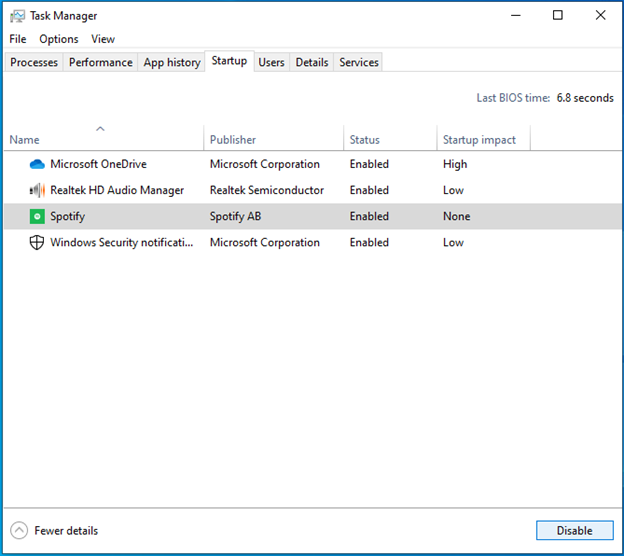
Move to the Startup tab, find the software or processes that you don’t want to start when log into Windows, then just “Disable” them.
Stop Services
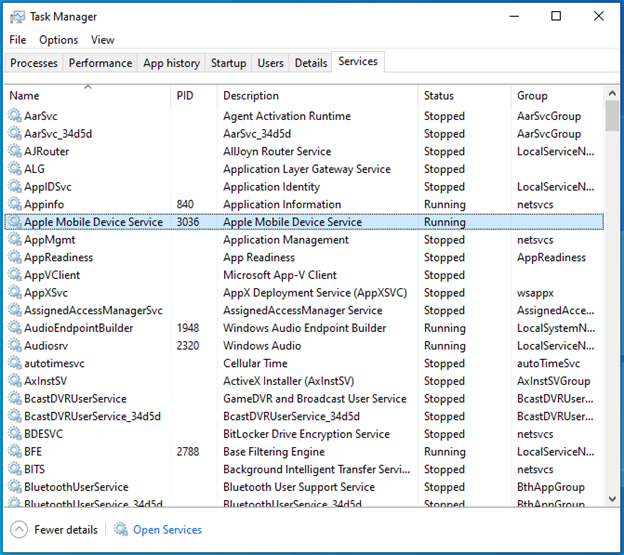
In the Services column, right-click the target one and select “Stop” to prevent it from slowing system down.
Update Drivers
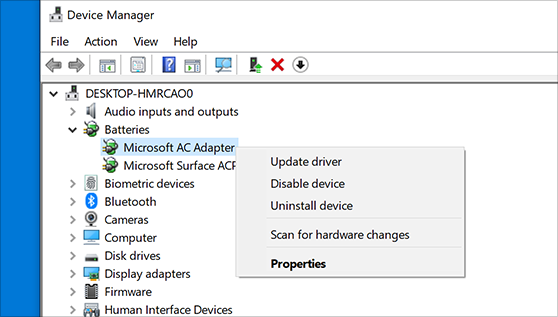
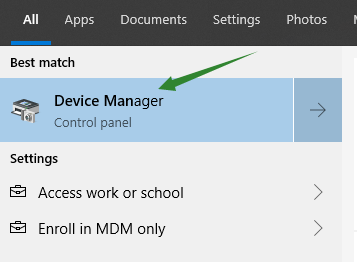
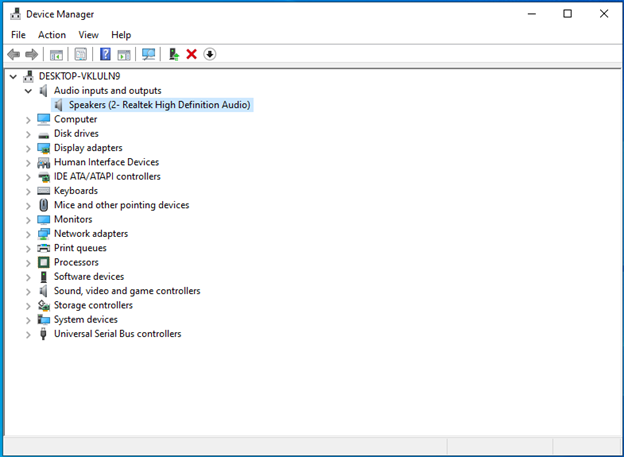
Right-click “This PC” on your desktop and choose “Properties”. In the pop-up window, select “Device Manager” on the left menu. Then, in Device Manager window, find the device, right-click on it and choose “Update Driver”.
Disk Cleanup
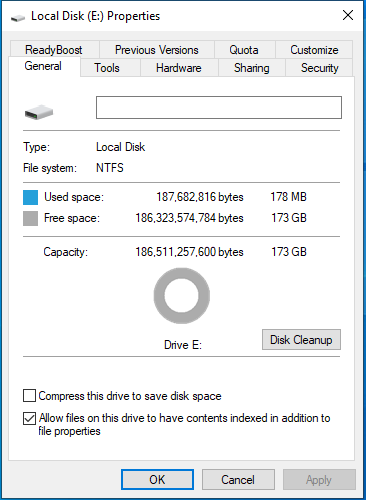
Right-click target hard disk in Windows Explorer and select “Properties”. In the General tab of the pop-up window, choose “Disk Cleanup” to clean trash on this disk.
Defrag Disks
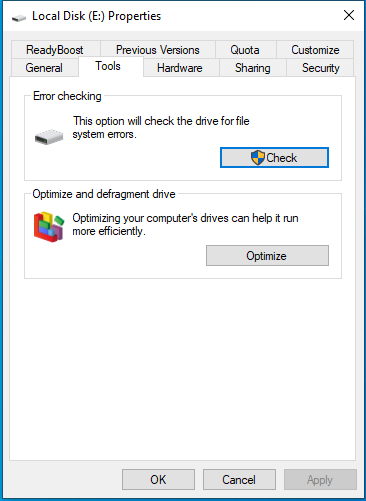
In the Tools tab of above Properties window, you can optimize drives by defragging them to gain more efficient computer performance.
There are still a lot to do to optimize PC system except for above tips. we won’t list them all here. As you can see, it’s a complicated and time-consuming task to optimize your system by yourself using Windows built in tools, even if you know well where to find the function and how to operate it.
Then, it’s time for third party tools to show their abilities. They complete all tasks mentioned above; they do more extra jobs for system optimization and most importantly, they are easy to use and perfect for computer idiots!
Fully Optimize Windows 10 for Gaming with FREE Smart Game Booster
Here, we pick out this system optimizing software to complete our mission. Unlike other Windows optimization tools, this one is special for computer games. It’s more professional and suitable.
For preparation, just free download, and install it on your PC. You’ll get two desktop shortcuts. Just double-click “Smart Game Booster” to launch the program to enter its main interface.
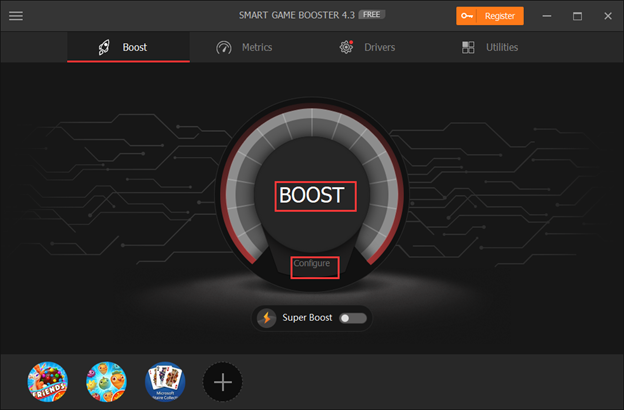
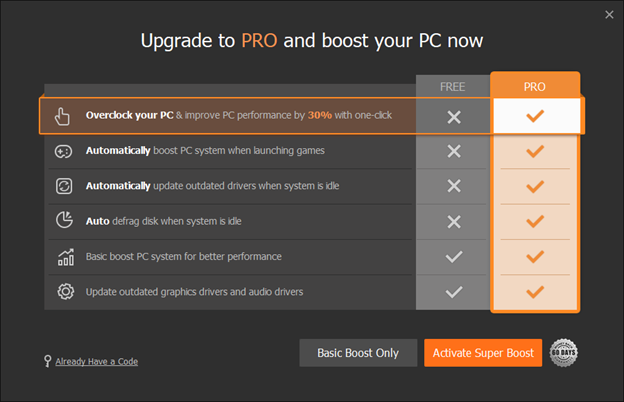
Step 1. One-click Boost PC. Click “BOOST” in the center of the screen. It will trigger a service upgrade window. Choose “Basic Boost Only” to start boosting.
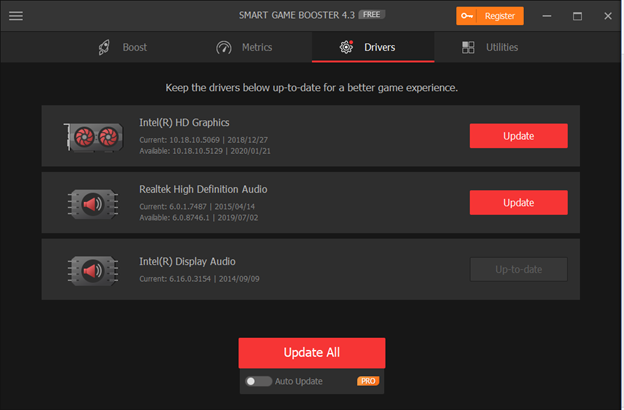
Step 2. Upgrade Drivers. Move to the Drivers tab, all drivers will be listed here. Select which one to upgrade, or upgrade them one by one.
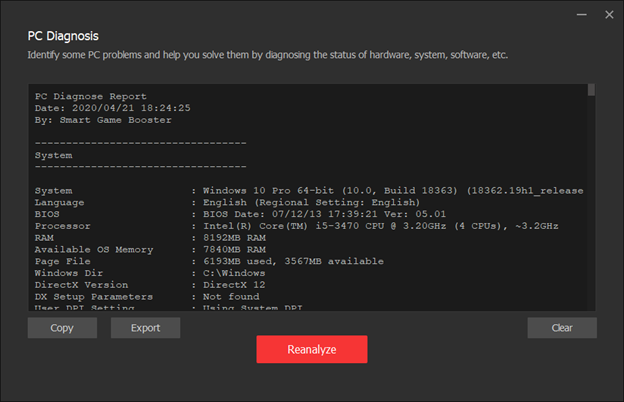
Step 3. PC Diagnosis. Go to the Utilities tab, launch smart PC Diagnosis to check the status of the system, processors, graphics, RAMs, network, motherboard, audios, hard disks, processes, event logs, etc.to help you solve existing problems.
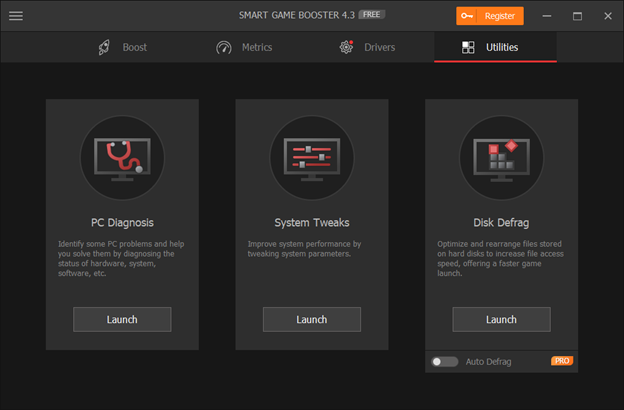
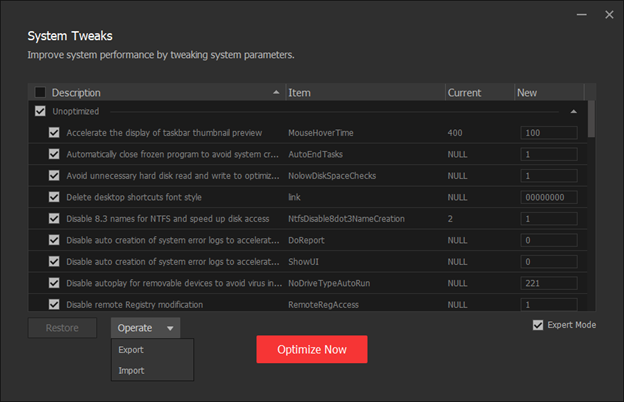
Step 4. System Tweaks. Launch smart System Tweaks to select which system parameters to tweak for improving system performance.
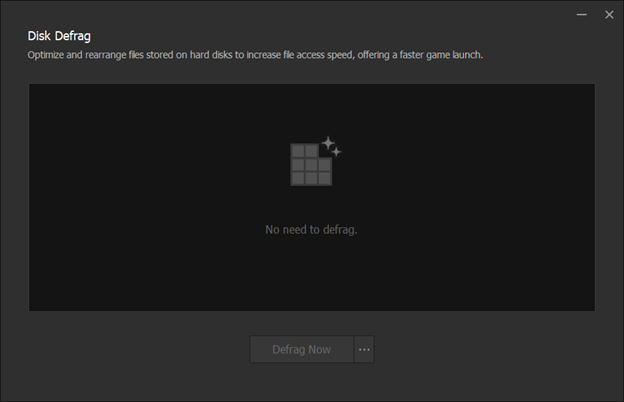
Step 5. Disk Defrag. Launch smart Disk Defrag to optimize and rearrange files stored on the disk for increasing file access speed. Thus, the game will launch faster in the future.
Tips:
1. We mentioned that we will get two desktop shortcuts finish installing Smart Game Booster. The second one is “Boost into Gaming Mode”. Double-click it; a progress bar will show up saying that “Smart Game Booster is boosting into Gaming Mode…”. Then, it will “disappear” into the system tray since this is a game mode. You can find its icon, right-click and select “Back to Normal Mode & Exit” to restore back to non-gaming mode.

2. If you’d like to gain more auto services (e.g. auto driver upgrade, auto disk defragment, FPS boost, etc.), just upgrade Smart Game Booster to Pro edition.
The Bottom Line
There are lots of other free functions offering by Smart Game Booster for its users. They are all easy to use that a computer novice can operate them smoothly without any user guide.
Finally, no matter which tool you take to optimize Windows 10 for Gaming, sincerely wish you won’t be bothered by system slow matter again!
Related Tips & Guides
Hot Articles
- 4 Tips to Fix Nvidia Control Panel Missing Issues on Windows 10
- How to Fix PUBG Lag/Delay [PC Version]
- How to Fix AMD Radeon Graphics Cards Black Screen Issues
- How to Download and Use Logitech Gaming Software
- [Solved] How to Fix Nvidia Driver Crashing on Windows 10/8/7
- How to Update AMD/Nvidia/Intel Graphics Driver for Better Gaming Experience
- How to record gameplay on Windows
- How Much RAM Do I Need for PC Gaming
- How Does Reshade Affect Gaming PC Performance?
- About Smart Game Booster
- About US
- Online Feedback
- User Manual
- FAQs
© 2023 Smart Game Booster. All Rights Reserved
