Ever had your computer suddenly turn into a snail? You’re in the middle of something—maybe a game, maybe just browsing—and suddenly everything stutters, the fans start screaming like a jet engine, and you’re left staring at a frozen screen. That’s high CPU usage waving at you. And trust me, it’s not funny at all. But now, you don’t need to be a tech wizard to figure out how to check CPU usage and get things back on track. In this guide, we’ll show you six different methods to check CPU usage.
What Does CPU Usage Mean and What Is Normal?
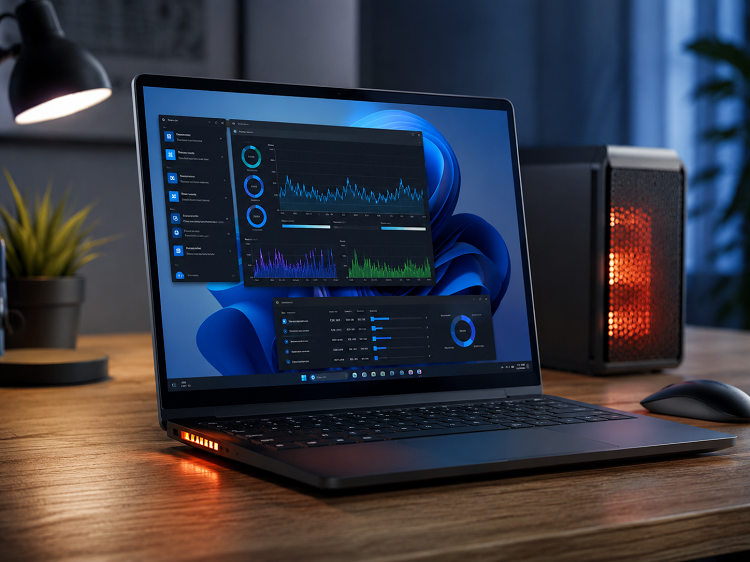
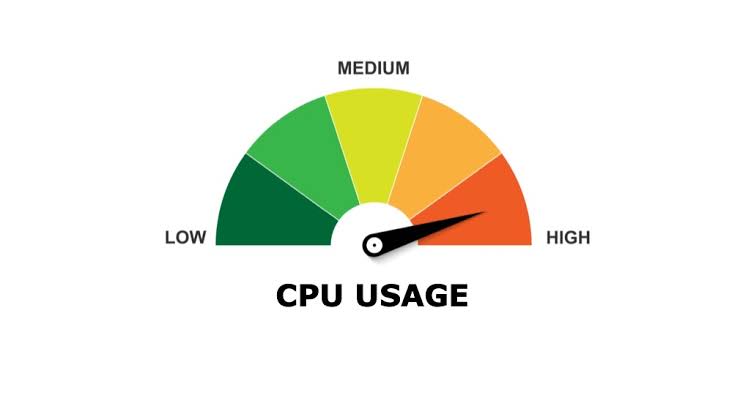
CPU usage shows how much of your processor’s capacity is being used by Windows, apps, and background processes. Short spikes are normal, especially when launching games or demanding programs. For example, CPU usage may briefly reach 80–100% and then return to a lower level. However, consistently high usage without an obvious reason may indicate a performance problem.
CPU usage and CPU temperature are different but closely related. Heavy CPU workloads often generate more heat, so a CPU usage temperature monitor can help you track both performance and overheating risks. Depending on your needs, you can use a quick built-in tool, a more detailed monitor, or a gaming-focused solution to check CPU activity.
How to Check CPU Usage: 6 Easy Methods
Each method has its own vibe. Task Manager is your go‑to for a quick peek. Performance Monitor gives you the full nerd‑level detail. And if you’re a gamer who wants real‑time stats without leaving your game, Smart Game Booster is a solid choice. Let’s break them all down.
Method 1: Check CPU Usage and Temperature with Smart Game Booster
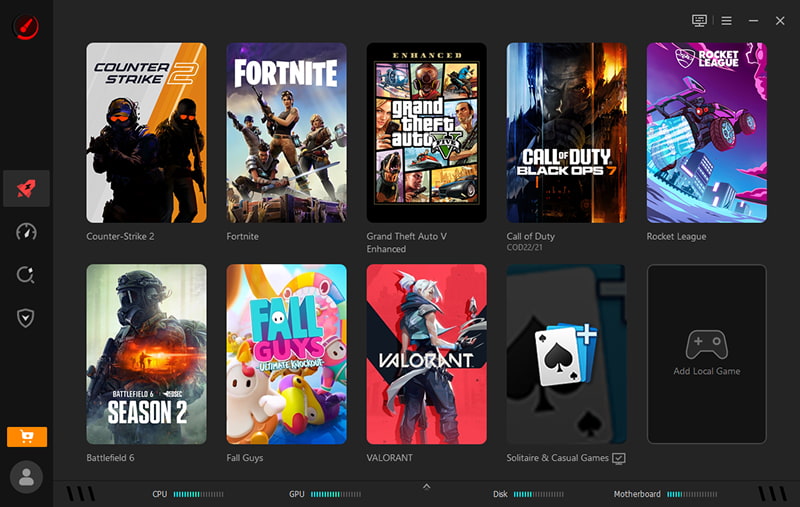
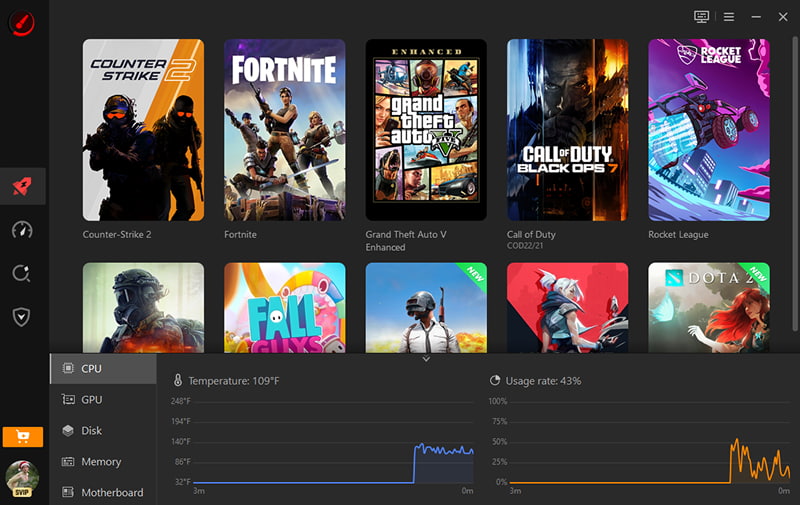
If you’re a gamer, this one’s for you. Smart Game Booster isn’t just a game booster—it’s also a visual CPU usage performance monitor that shows real‑time CPU usage and temperature in a clean, easy‑to‑read interface. Its hardware‑monitoring dashboard covers your CPU, GPU, disk, memory, and motherboard, so you get a full picture of what’s going on inside your PC.
Beyond monitoring, Smart Game Booster also works as an FPS booster, with tools for system optimization, game compatibility analysis, and PC diagnosis.
Key Features of Smart Game Booster
- Enjoy lag-free & low-ping gaming
- 100+ games supported
- Severs from all over the world
- Boost in-game FPS
How to Check CPU Usage using Smart Game Booster
Step 1: Download and install Smart Game Booster from the official website.
Step 2: Launch the app. You’ll see the main dashboard with real‑time stats for CPU, GPU, and disk usage at the bottom.
Step 3: Click on the tab to view detailed usage graphs for each component.
Key Features
Real‑Time Hardware Monitoring: Displays CPU, GPU, disk, memory, and motherboard stats in one place, so you always know what’s taxing your system.
Customizable Game HUD: Shows live CPU usage, temperature, and FPS right on your screen while you play—no alt‑tabbing required.
One‑Click PC Optimization: Frees up RAM and closes unnecessary background processes to give your games more breathing room.
PC Analysis and Diagnosis: Scans your hardware and driver status, helping you spot issues before they become problems.
If you want an easier way to monitor CPU performance while gaming, Smart Game Booster combines real-time hardware monitoring with practical optimization tools. It helps you track system conditions, reduce unnecessary background activity, and keep your PC running more smoothly during gameplay.
Method 2: How to Check CPU Usage Windows 11/10 with Task Manager
Task Manager is the fastest way to check CPU usage, and it’s the go‑to method for how to check CPU usage Windows 11 or Windows 10. It shows both overall CPU load and which specific programs are hogging your resources. The Processes tab is where you identify the culprits, while the Performance tab gives you a live graph of your CPU activity over time. Here's how to check CPU usage with Task Manager:
How to Check CPU Usage with Task Manager
Step 1: Press Ctrl + Shift + Esc to open Task Manager directly. Alternatively, right‑click the Start button and select “Task Manager”.
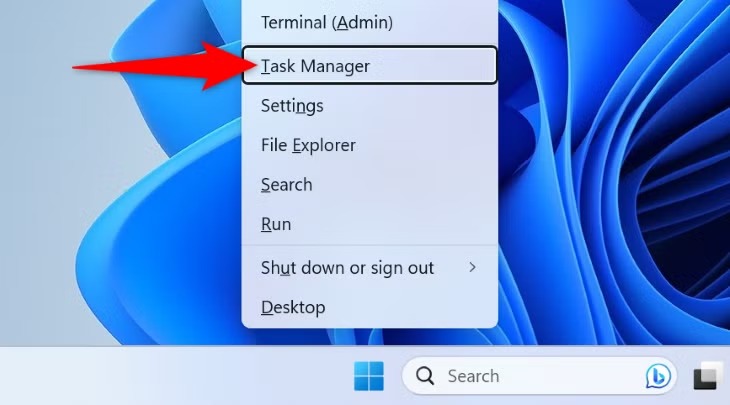
Step 2: If you see a simplified view, click “More details” at the bottom.
Step 3: Go to the “Processes” tab. Click the “CPU” column header to sort processes by CPU usage—highest first.
Step 4: Switch to the “Performance” tab and select “CPU” from the left menu to see a real‑time usage graph.
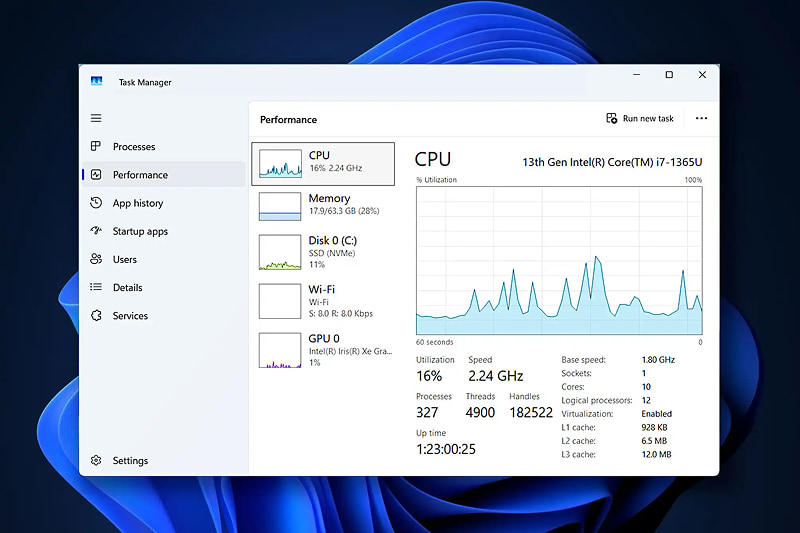
What’s the difference? The Processes tab shows you which apps and background processes are using CPU right now—great for finding the offender. The Performance tab shows overall CPU activity over time, including speed, core count, and uptime. Use both together for a complete picture.
Method 3: Check Detailed CPU Activity with Resource Monitor
Need more detail than Task Manager? Resource Monitor is your friend. It gives you process‑level insights that Task Manager skims over, including which services and threads are eating up CPU cycles. Let's see how to check detailed CPU activity with Resource Monitor:
Step 1: Open Task Manager (Ctrl + Shift + Esc), go to the “Performance” tab, and click “Open Resource Monitor” at the bottom.
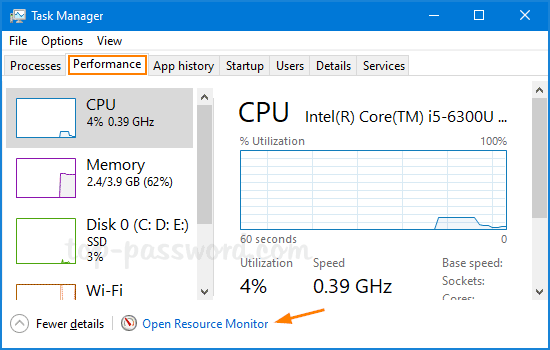
Step 2: In Resource Monitor, click the “CPU” tab.
Step 3: You’ll see a list of all running processes with their individual CPU usage percentages, plus graphs showing overall utilization.
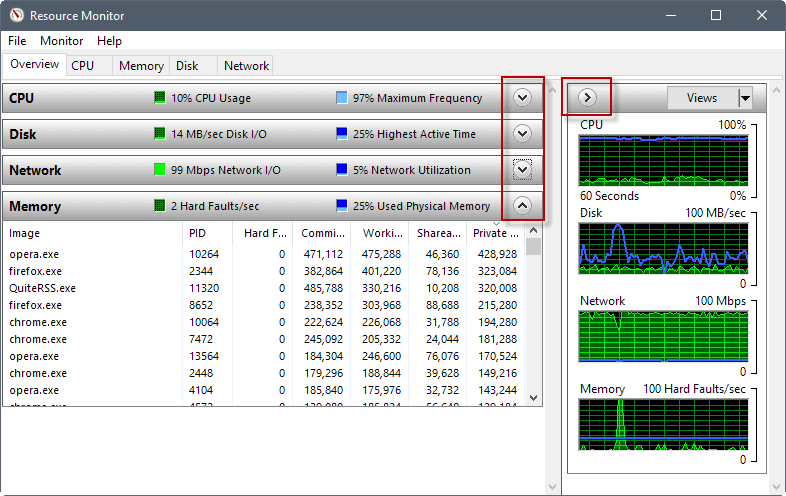
Word of caution: Don’t stop unfamiliar Windows services before checking what they actually do. Some are critical for system stability, and stopping them can cause more problems than they solve.
Method 4: Use the Windows CPU Usage Performance Monitor
For the advanced users out there, Performance Monitor lets you track CPU activity over time—not just in the moment, but across minutes, hours, or even days. This CPU usage performance monitor is perfect for diagnosing recurring spikes and collecting detailed performance data for later analysis. Let's see how to check CPU usage with Performance Monitor step by step:
Step 1: Press Win + R, type perfmon, and hit Enter.
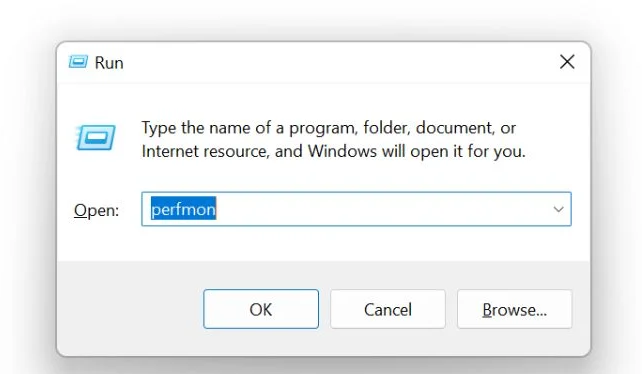
Step 2: In the left pane, expand “Data Collector Sets” → “System”.
Step 3: Right‑click “System Performance” and select “Start” to begin collecting data.
Step 4: To view the report, expand “Reports” → “System” → “System Performance”. You’ll see detailed graphs of CPU, memory, disk, and network activity.
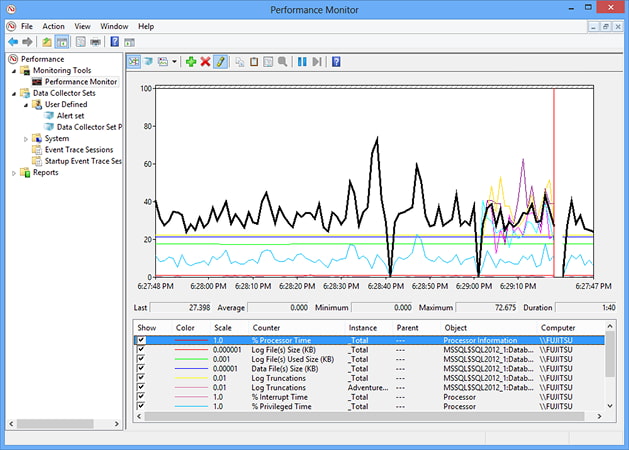
This method is overkill for a quick check, but if you’re troubleshooting intermittent slowdowns, it’s worth the extra effort.
Method 5: Display CPU Usage on the Desktop with Xbox Game Bar
Want CPU info to stay visible while you’re gaming or working in full‑screen apps? Xbox Game Bar is a convenient built‑in overlay that does exactly that. If you remember the old CPU usage desktop gadget Windows 10 used to offer, the Game Bar is essentially its modern, more capable replacement. Here’s how to check CPU usage with Xbox Game Bar:
Step 1: Press Win + G to open Xbox Game Bar.
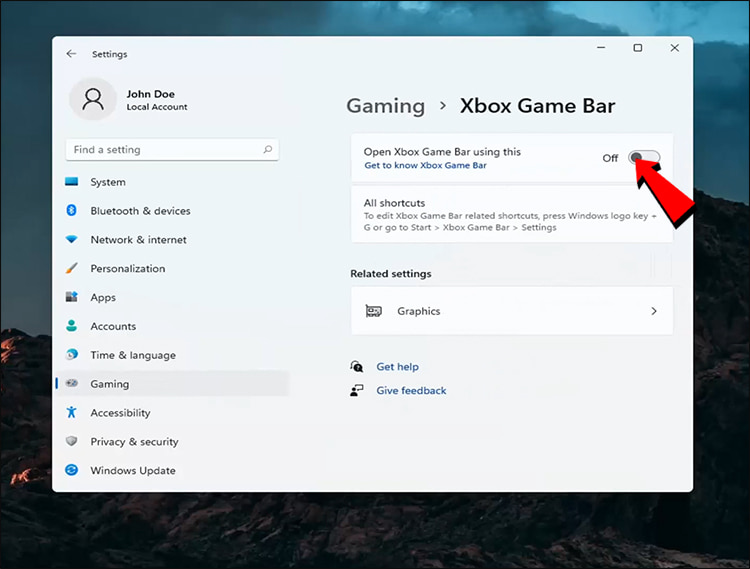
Step 2: Click the “+” (Widget Menu) button and select the “Performance” widget.
Step 3: The widget displays live stats for CPU usage, GPU usage, RAM, VRAM, and FPS. Pin it (click the pin icon) to keep it on top while you play.
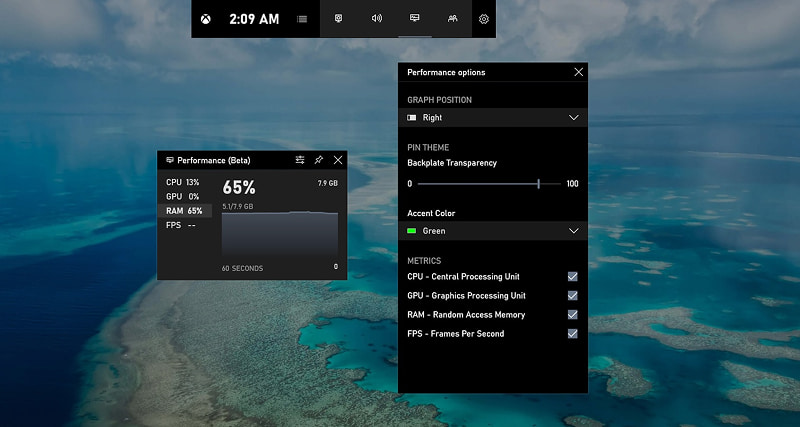
Xbox Game Bar is a convenient option for monitoring CPU and FPS while gaming. If Roblox still suffers from stuttering or delays, a free lag reducer for Roblox can provide additional ways to improve game performance.
Method 6: Check CPU Usage with PowerShell
For the command‑line crowd, PowerShell offers a powerful way to check CPU usage—especially useful for remote troubleshooting, automation, or repeated sampling. It's time to see how to check CPU usage with PowerShell:
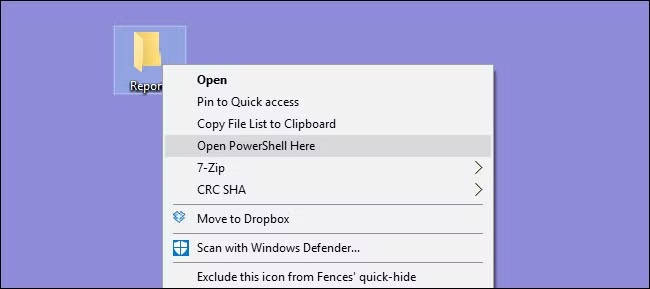
Step 1: Open PowerShell (press Win + X and select “Windows PowerShell” or “Terminal”).
Step 2: Type the following command and press Enter:
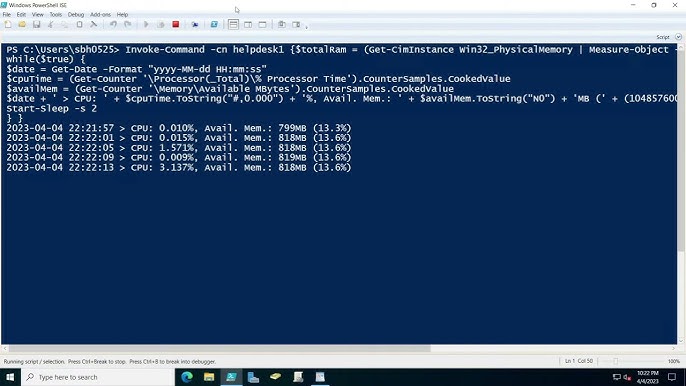
This samples CPU usage every second for five seconds.
Step 3: For a simpler readout, use:
This returns the current CPU load as a percentage.
PowerShell isn’t for everyone, but if you’re comfortable with the command line, it’s incredibly efficient.
What to Do When CPU Usage Is Too High
Okay, so you’ve learned how to check CPU usage—now what? If you’ve found a process or two that’s consistently eating up your CPU, here’s what you can do about it:
Close Unnecessary Programs – If you’re not using it, close it. Especially browsers with too many tabs.
Restart the Computer – It sounds basic, but a restart clears caches and terminates hung processes.
Disable Unnecessary Startup Apps – Open Task Manager, go to Startup, and disable anything you don’t need running at boot.
Scan for Malware – Malware can hog CPU in the background. Run a full scan with Windows Defender or your preferred antivirus.
Update Windows and Device Drivers – Outdated drivers can cause performance issues. Keep everything up to date.
Check CPU Temperature and Cooling – Overheating can throttle performance. Use a CPU usage temperature monitor to check if heat is the problem.
Avoid Ending Critical Windows Processes – Seriously. Don’t kill system processes unless you’re absolutely sure what they do.
Smart Game Booster can also optimize system settings and gaming performance. If high CPU usage is not the main cause of online game lag, a ping reducer may help address network-related latency instead.
Final Words
So there you have it—six different ways to check CPU usage on Windows. Whether you prefer the quick and dirty Task Manager method, the deep‑dive of Performance Monitor, the command‑line power of PowerShell, or the gaming‑friendly approach of Smart Game Booster, the right tool depends on your situation. The most important thing is simply to know how to check CPU usage regularly—so when things start slowing down, you’re not left guessing. Pick the method that fits your style and keep an eye on those numbers.